
|
INtime x86 platform details and installation guide.
| ConceptRT release version | INtime SDK version | Visual Studio | Comments |
|---|---|---|---|
| 3.2.0 | 6.0.15160.1 | 2012 Update 5 | Need of special patch : Replace the file rtdef.h in %intime%rt\include with this one : rtdef.h |
| 3.3.x | 6.1.15255.2 | 2015 | Need of special patch : Please unzip this file cpplibs.zip , then copy cpplib.lib over the one in INTIMErt\lib and copy cpplib6.rsl over the one in INTIME%\bin. Moreover add the option /Zc:threadSafeInit- in Project properties, C/C++, All options, Additional options (note that this is case sensitive). |
| 3.4.x | 6.1.15345.1 | 2015 | Add the option /Zc:threadSafeInit- in Project properties, C/C++, All options, Additional options (note that this is case sensitive). |
| 3.5.x | 6.1.15345.1 | 2015 | Add the option /Zc:threadSafeInit- in Project properties, C/C++, All options, Additional options (note that this is case sensitive). |
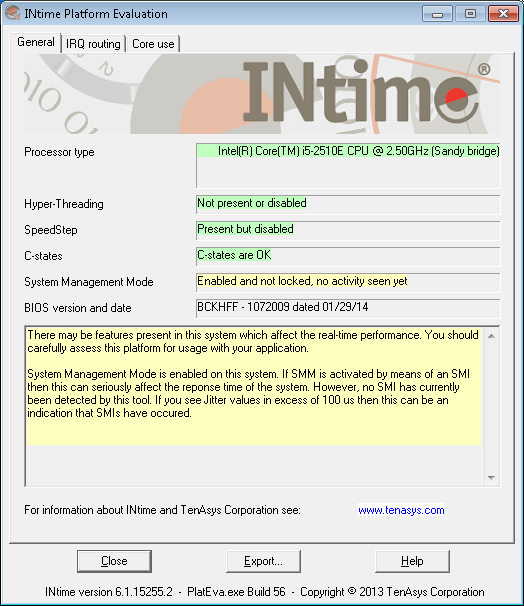
Applications based on the INtime kernel will work nice on many various hardware platforms. However in order to reach high level of realtime accuracy, hard realtime application may need specific hardware configuration. So far ConceptRT has been validated on industrial hardware platform such as Beckhoff CP69xx.

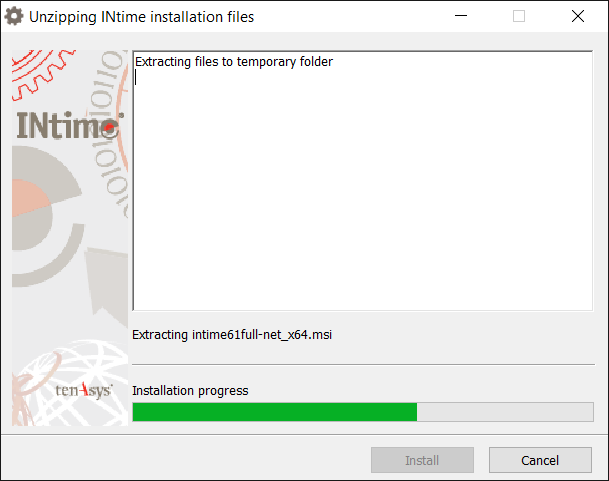
From Tenasys get the installation file named intimeXX-XXXXXfull-net_installer.exe and lunck the executable on the development host.
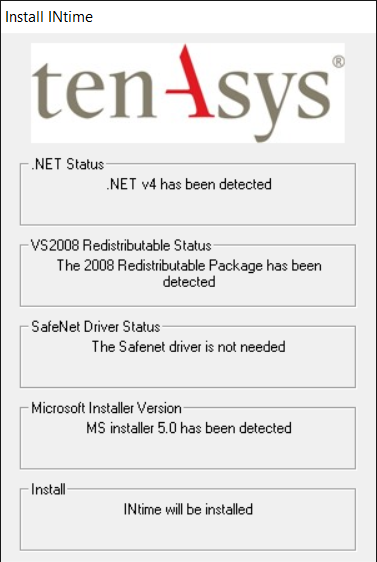
Click next.
Accept and click next.
Click next.
Click next.
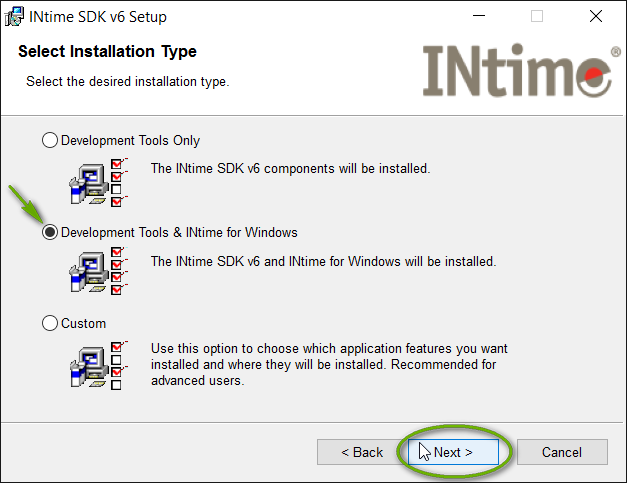
In order to install the SDK and the runtime on the same host select Development Tools & INtime for Windwos. To install only the SDK select Develpment Tools Only instead. Click next.
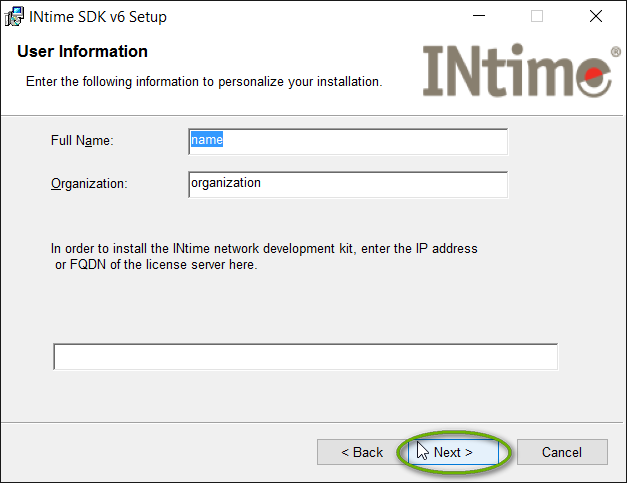
Enter your name and organization. Click next.
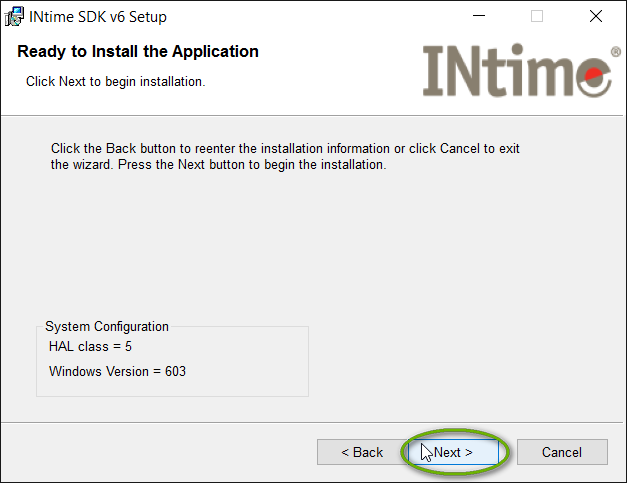
Click next.
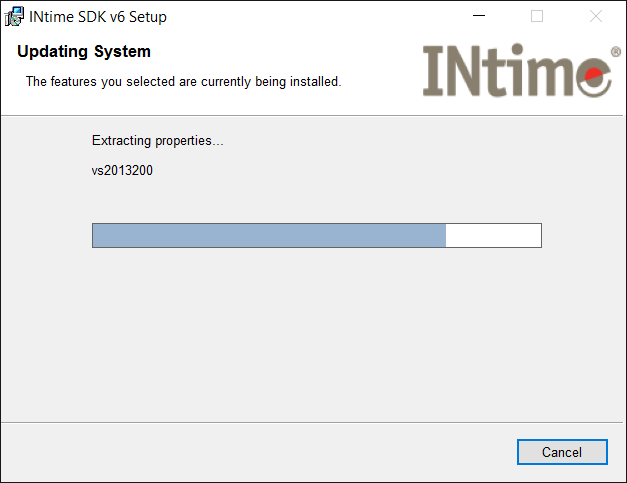
Wait until the installation process is done.
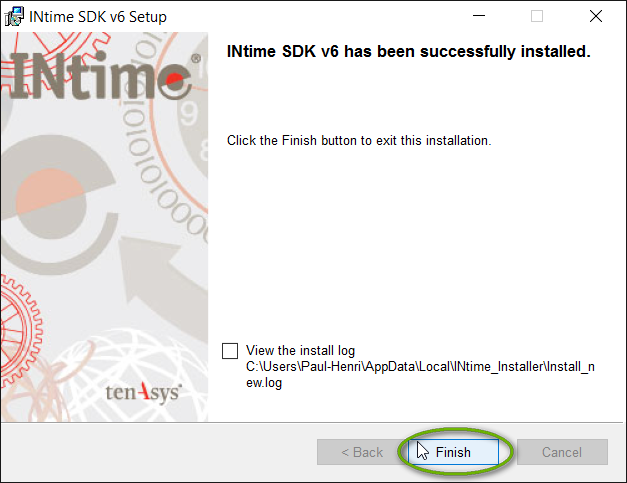
Click Finish.
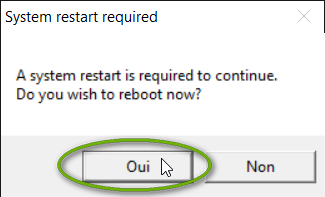
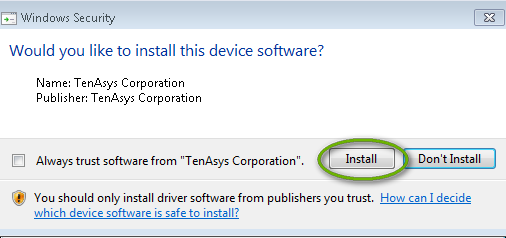
Click yes.
From Tenasys get the installation file named runtimeXX-XXXXX_installer.exe and lunch the executable on the remote host.

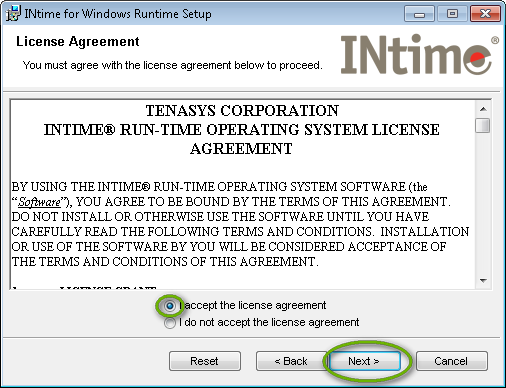
Click next.
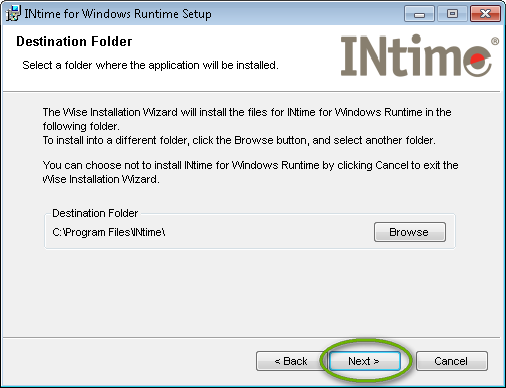
Click next.

Click next.
Click next.

Select Custom INtime for Windows Runtime. Click next.
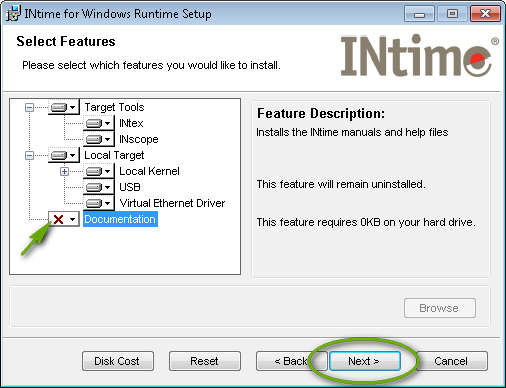
Unselect Documentation and click next.
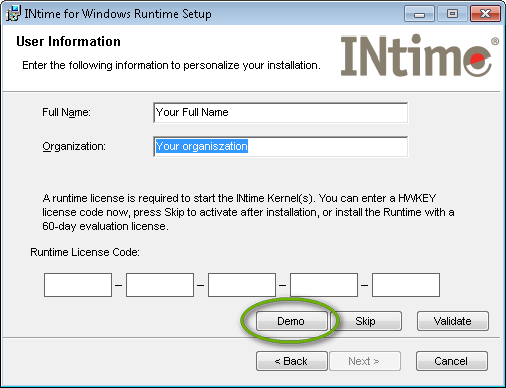
Click Demo.
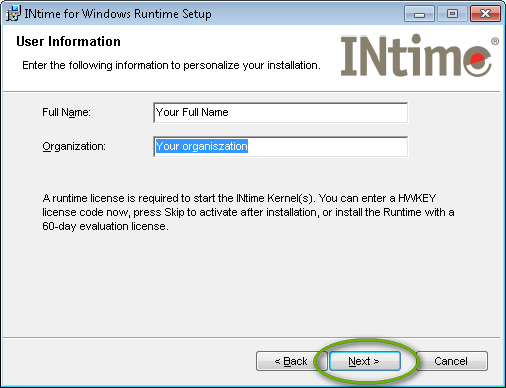
Enter your user information and click next.

Click next.
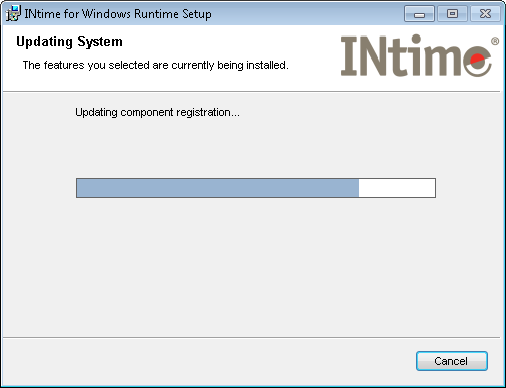
Wait instalation process.
Click install.
Click install.

Click Finish.

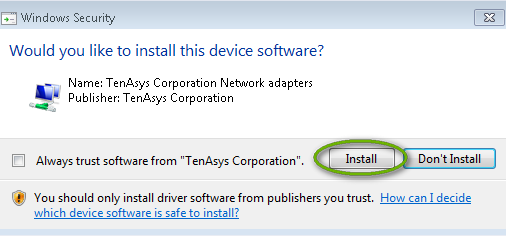
Click yes.
Right click on the runtime tray icon to display this menu.
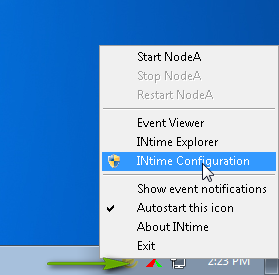
Select INtime Configuration.
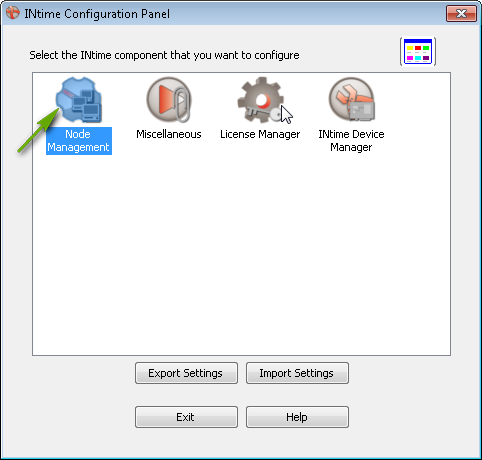
Double click on Node Management.
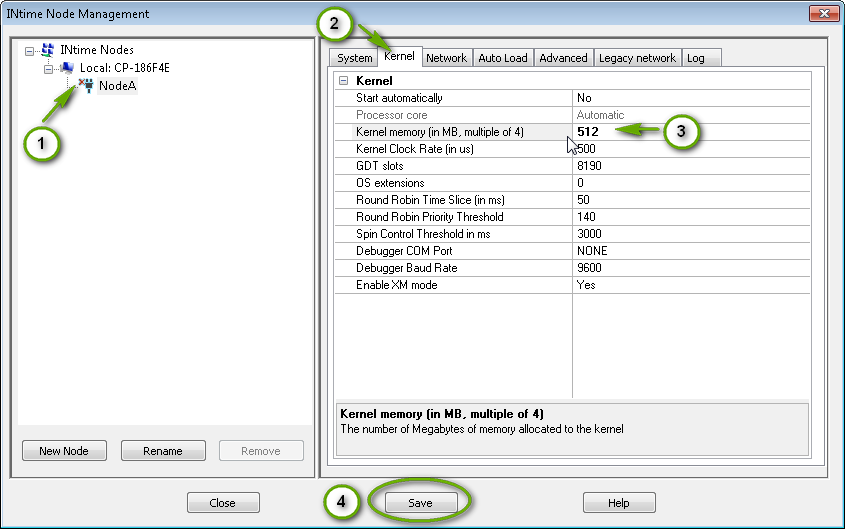
Update kernel memory to 512 Mb and save.
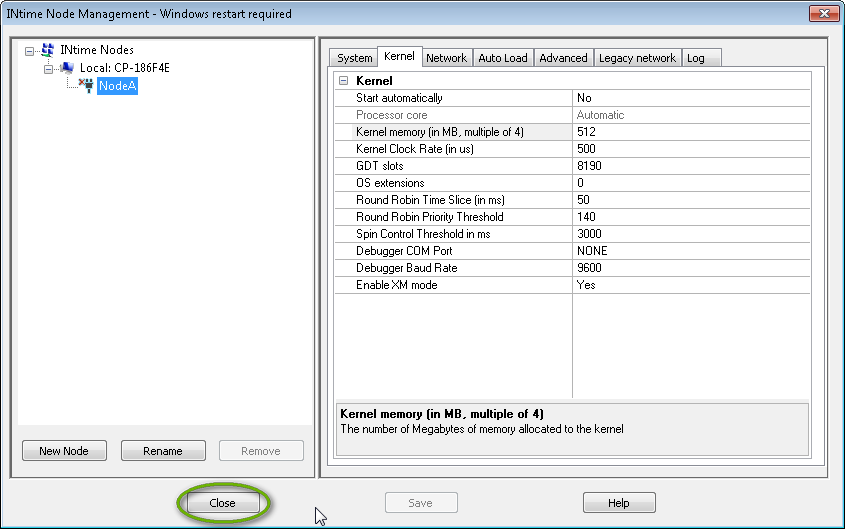
Close the window.
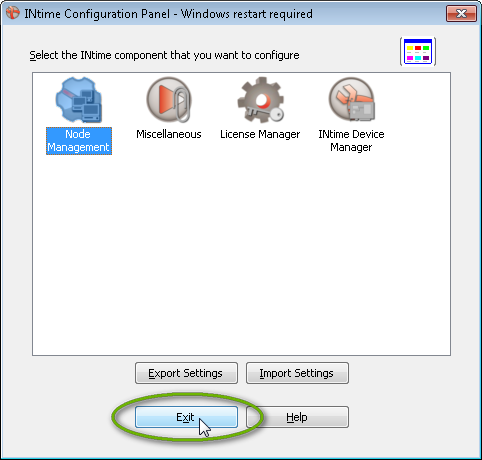
Exit INtime Configuration panel.

Click yes.
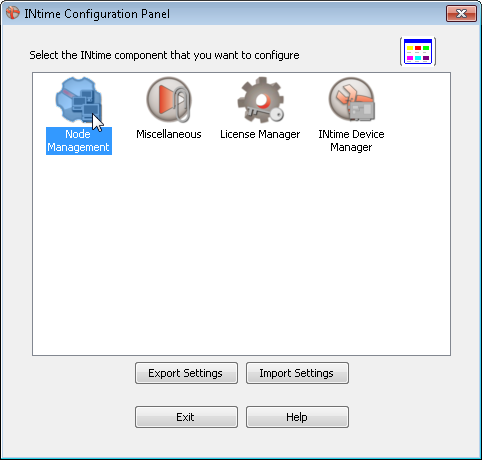
Once the system has restarted open again the INtime Configuration Panel. Double click on Node Management.
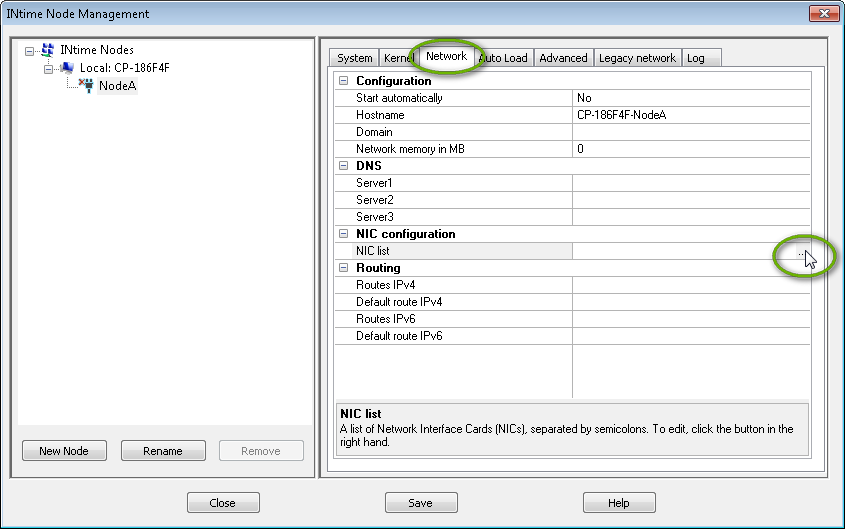
In the tab Network click on NIC list...

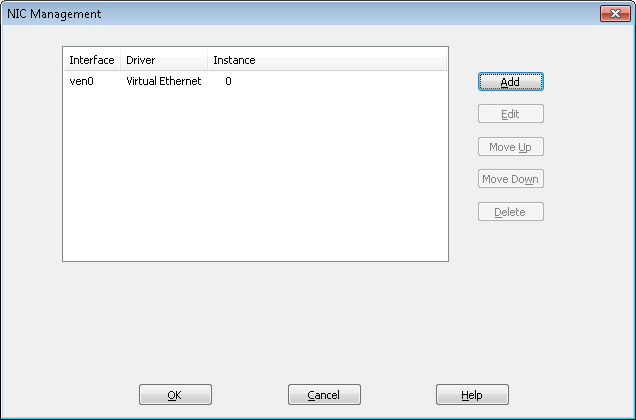
Click on Add.
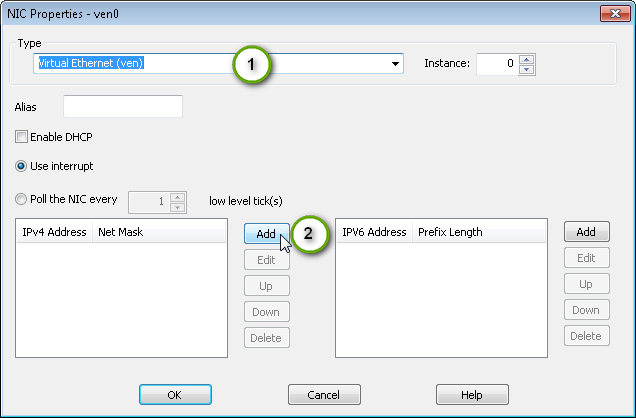
Select type Virtual Ethernet and click on Add.
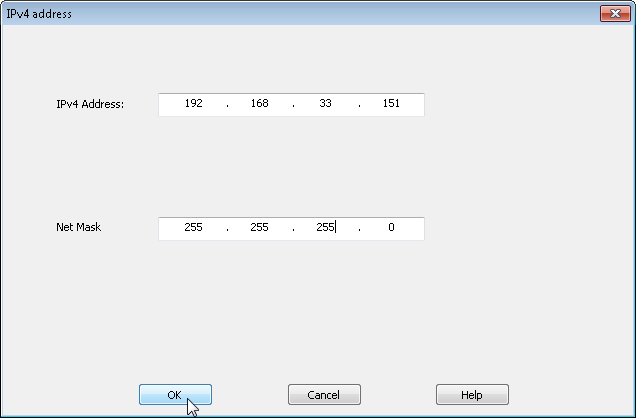
Enter an IP address in the same range than your local area network.
Click Ok.
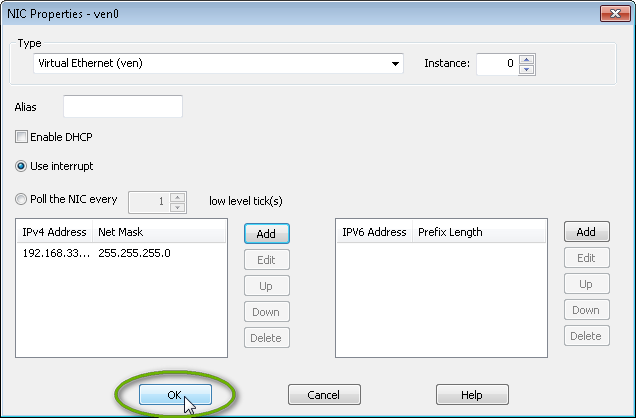
Click Ok.
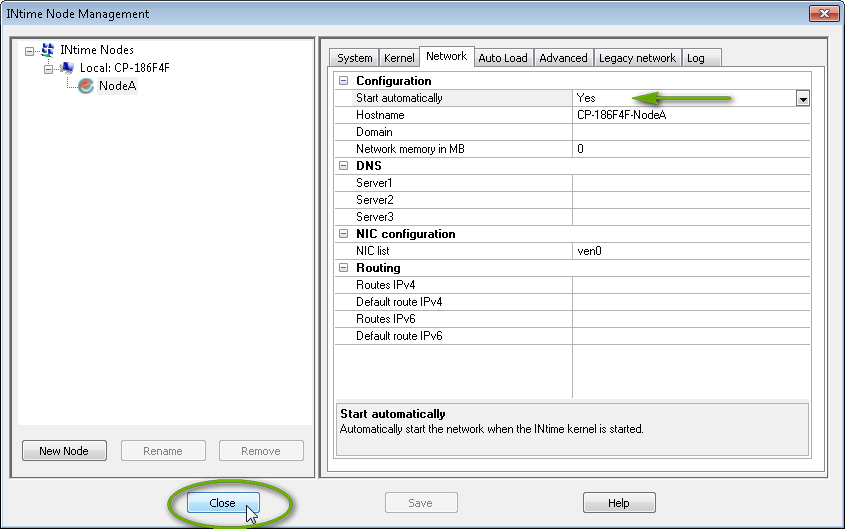
Select Start automatically to Yes and click Close.

Click yes.
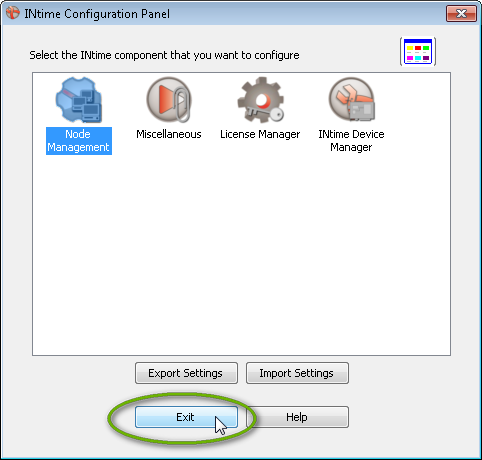
Click exit.

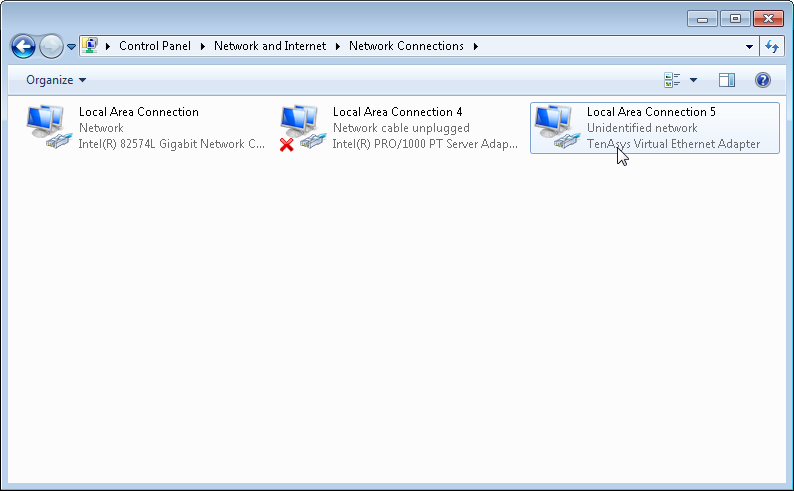
In Control Panel, Network and Internet, Network Connections of Windows click on Change adapter setting.
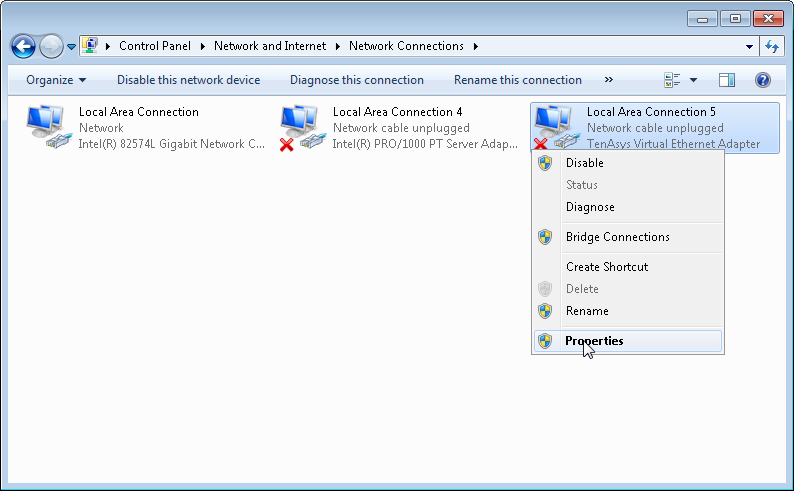
Right click on the adaptor of type TenAsys Virtual Ethernet Adaptor and select Properties.
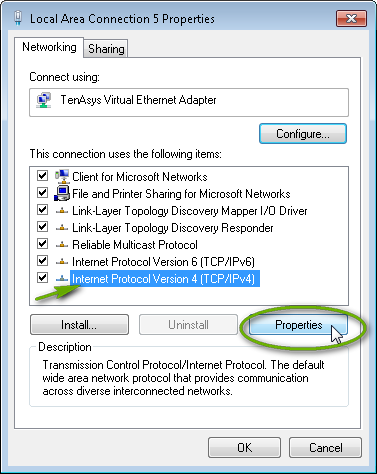
Select Internet Protocol Version 4 and click Properties.

Enter and IP address in the same range than your local area network (different from the one used in INtime). Click ok.

Close the windows.
Once the INtime node is started the virtual adaptor should be in state activated.
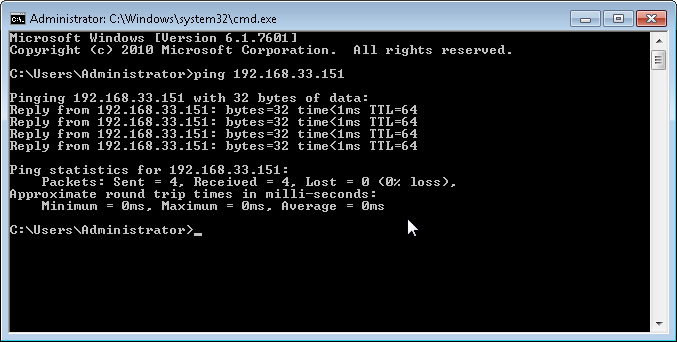
You should be able to ping the kernel node from the remote host.
Next steps about bridge are only necessary when the node in running in a remote host.
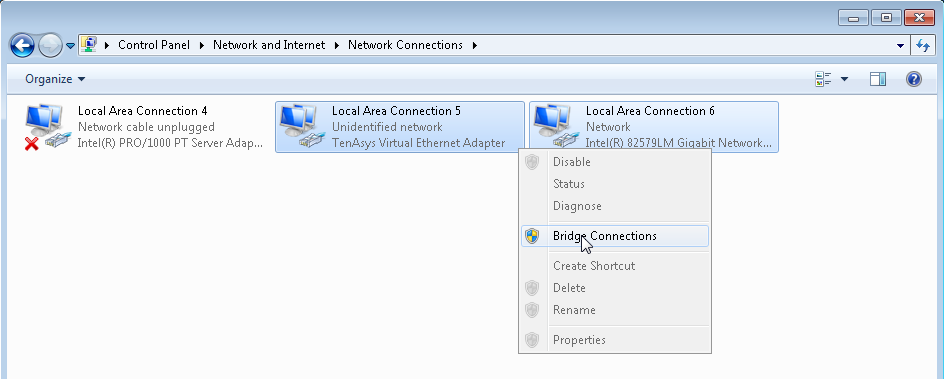
Select the virtual adaptor and the adaptor to your local area network. Right click and select Brigde Connections.
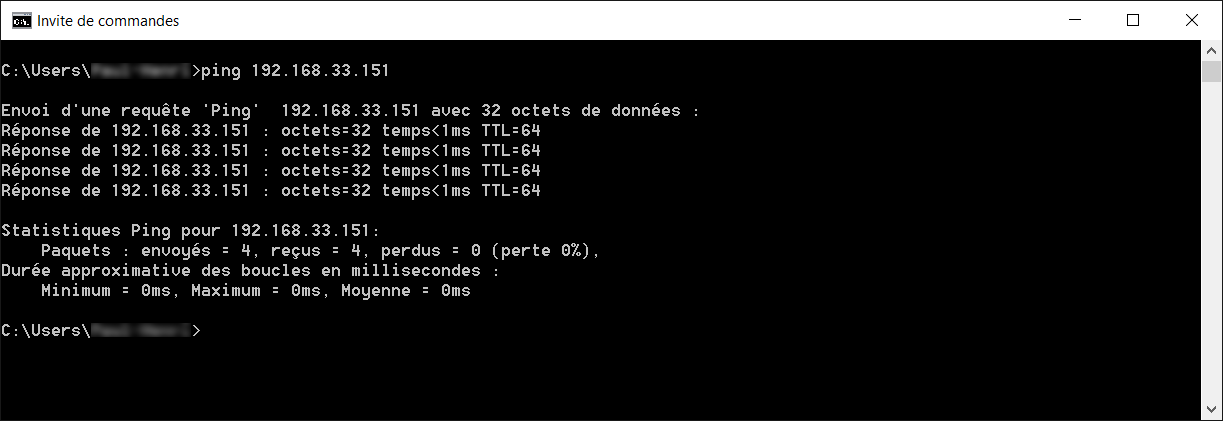
Once the brige created, you should be able to ping the kernel node from the development host.
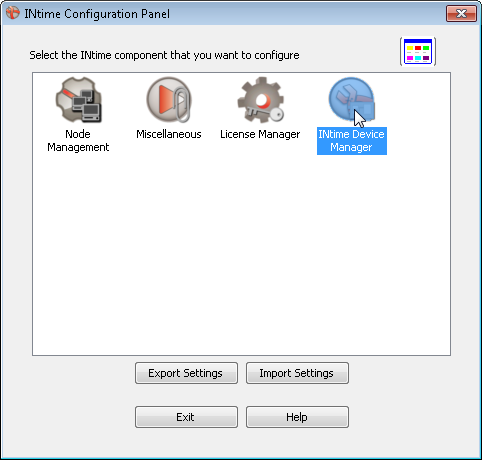
Open the INtime Configuration panel and double click on INtime Device Manager.
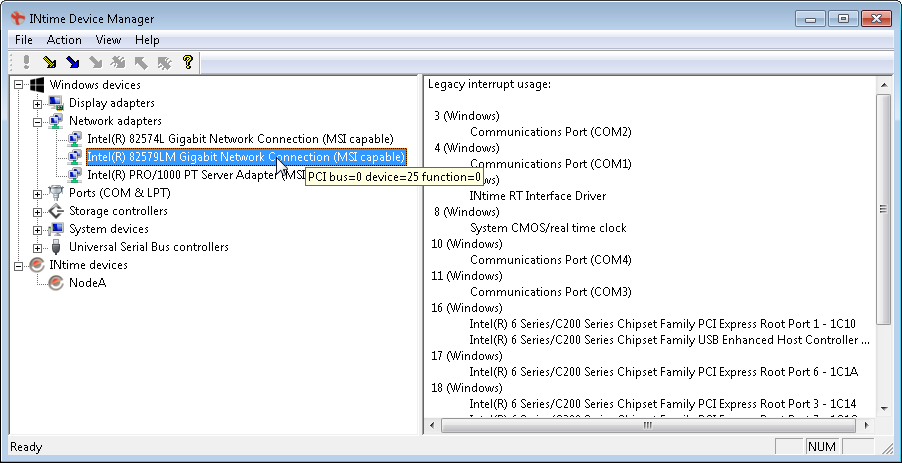
Select the adapter to pass into INtime kernel.
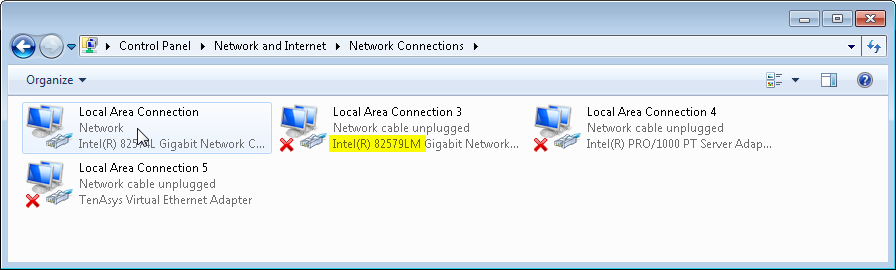
You can check the name of the adapter in Control Panel, Network and Internet, Network Connections of Windows.
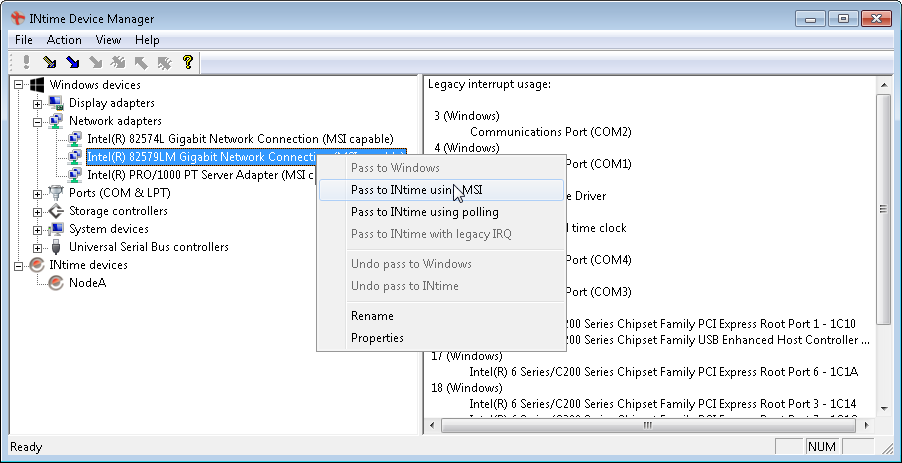
Right click on the adapter and select Pass to INtime using MSI.
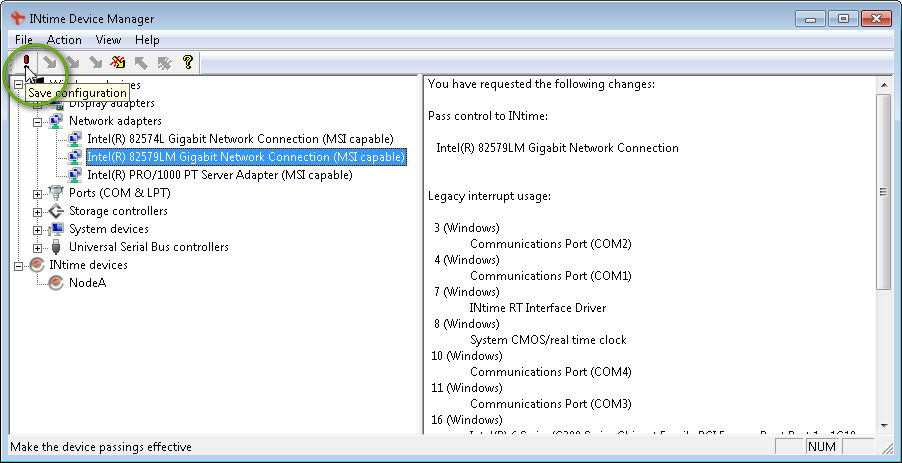
Apply the modification by clicking on save configuration.
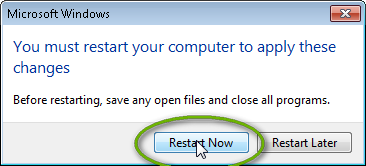
Click Restart Now.
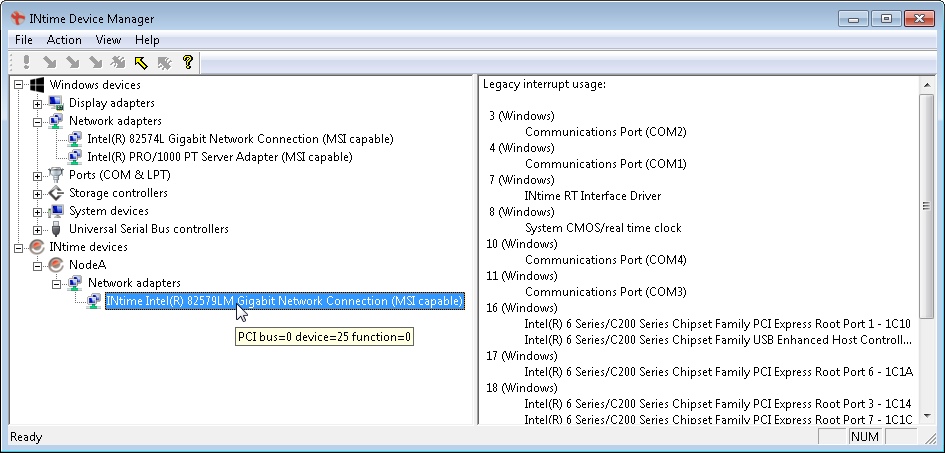
You can verify that the adapter has been passed into INtime by opening the INtime Device Manager again and check.

